
Standardized installation of PVC electrical conduit is the key to ensuring the safety of electrical circuits, realizing design functionality, and avoiding future problems. The construction process follows the six-step principle of "measure, cut, connect, secure, pull, test", with strict technical requirements and operational details at each stage.
I. Measurement and Layout: Precision Marking is the Foundation
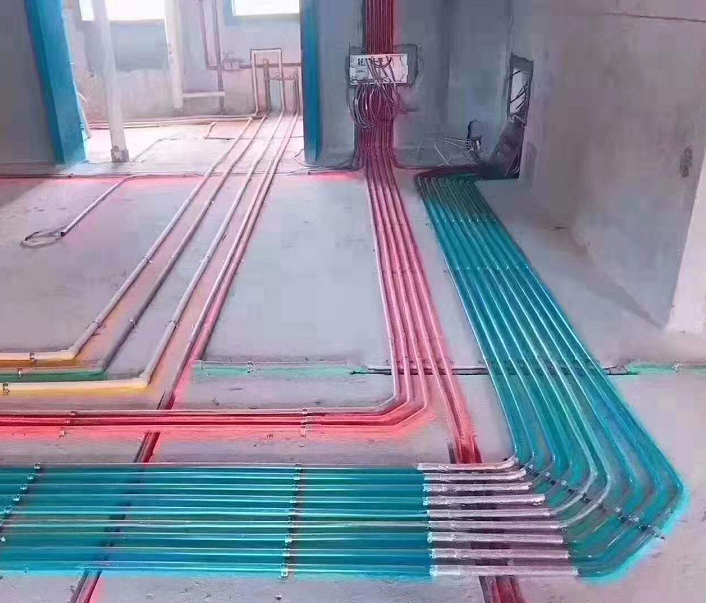
1. Work to Drawings: Strictly follow the electrical design drawings, marking the conduit routing lines on walls, floors, and ceilings with a chalk line. Routes should follow the principles of "horizontal and vertical, minimize crossings, reasonable proximity". Avoid diagonal chases wherever possible, especially on load-bearing structures.
2. Elevation and Spacing: Precisely determine the elevation and level position of switch and outlet boxes. Within the same room, the height difference between adjacent switch/outlet boxes should not exceed 1mm. Maintain a minimum parallel distance of 300mm and a crossing distance of 100mm between conduit and hot water/gas pipes.
II. Cutting and Fabrication: Cut Quality Determines Connection Reliability
1. Cut with Proper Tools: Always use a dedicated PVC pipe cutter or hacksaw. When using a cutter, rotate evenly to ensure a clean, square cut perpendicular to the pipe axis. When using a hacksaw, choose a fine-tooth blade. After cutting, thoroughly remove all internal and external burrs with a reamer or file to prevent damage to wire insulation during pulling.
2. Cold Bending Process: For bends in Light-duty or Medium-duty conduit (Φ16-25mm), use a bending spring of the correct size. Insert the spring into the section to be bent, apply gradual pressure to achieve the desired angle (minimum bend radius ≥ 6 x pipe outer diameter), then twist and remove the spring. It is strictly forbidden to bend the pipe directly without spring support, as this will likely kink or crack the pipe wall.
III. Connection and Sealing: Preventing "Slurry Ingress" and "Looseness"
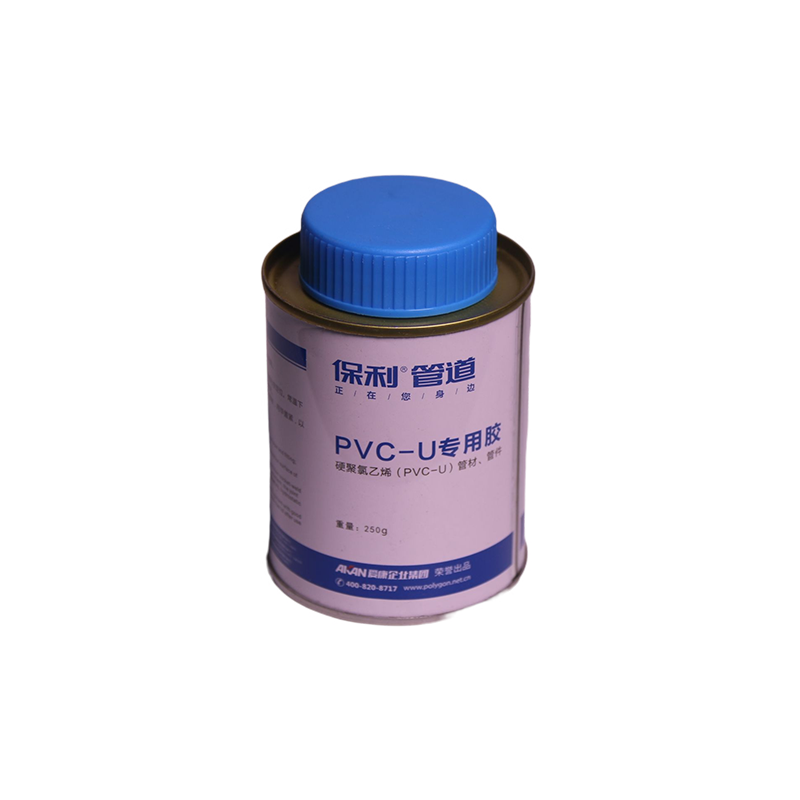
1. Solvent Welding: This is the core process. Use the PVC solvent cement from the same brand as the conduit. Clean the socket and spigot surfaces of the pipe and fitting (coupling, elbow, tee, etc.), apply cement evenly, insert quickly while giving a quarter turn to distribute the cement, and hold firmly for 10-15 seconds. Excess cement is a sign of a good seal and should not be wiped off.
2. Box Entry Connection: Conduit must enter a junction box using a box connector (bushing with locknut). First screw the connector's locknut into the box's knock-out, then apply solvent cement to the pipe end, insert it into the connector socket, and tighten the locknut. The internal "wipe" of the bushing removes burrs from the wire jacket, an important safety detail.
3. Conduit End Sealing: Before concrete pour, all upward-facing conduit ends must be tightly capped with plugs or sealed with tape to prevent ingress of cement slurry, which can cause permanent blockage.
IV. Fixing and Protection: Ensuring Conduit Stability
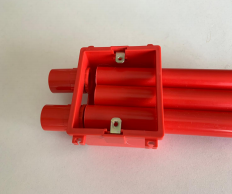
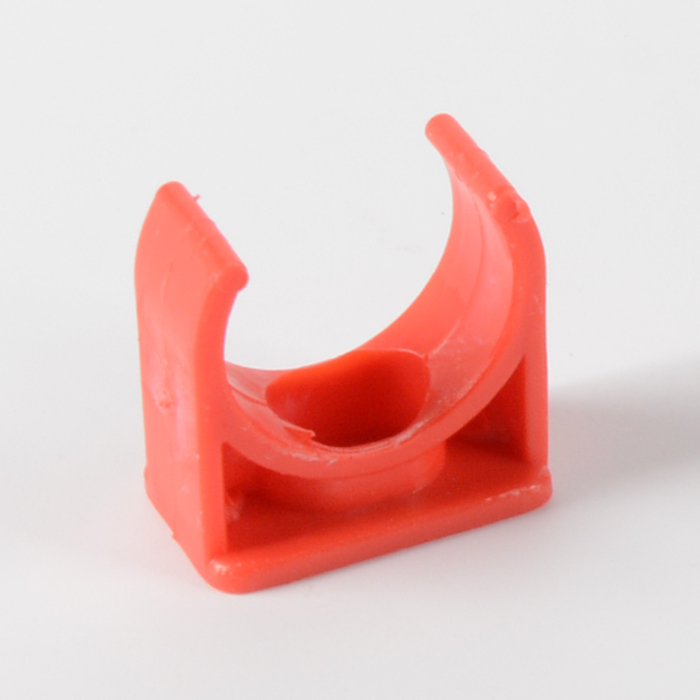
1. Conduit Clamp Fixing: Both concealed and exposed conduit must be secured with proper conduit clamps. In concrete, secure conduit to rebar with wire ties. In wall chases, the maximum fixing spacing is 800mm. For exposed runs, the maximum spacing is 1000mm, and a clamp must be installed 150-200mm from the edge of each switch/outlet box.
2. Cover Depth (Protective Layer): For conduit concealed in walls or floors, the minimum depth of the plaster/covering material over the conduit surface must be 15mm. This is a mandatory requirement to prevent wall cracking due to conduit movement.
V. Wire Pulling: The Final Check
1. Pull-in Draw Wire First: Before the final plastering/finishing, pull a steel fish tape (draw wire) through all conduit runs. This serves two purposes: it verifies the conduit is clear, and it provides a guide for later wire pulling. Leave sufficient length of fish tape at both ends, secured inside the boxes.
2. Standard Wire Pulling: Perform the final wire pulling after interior finishing is mostly complete. All conductors of the same circuit must be in the same conduit. However, the total cross-sectional area of the conductors (including insulation) must not exceed 40% of the conduit's internal cross-sectional area. Pull wires gently to avoid damaging conductors by excessive force.
VI. Key Quality "Red Lines" and Inspection
1. Red Line 1: Power and low-voltage circuits must NEVER share a conduit. Power cables (mains voltage) and telephone/network cables (low voltage) must be run in separate conduits, with a minimum parallel spacing of 300mm to prevent signal interference.
2. Red Line 2: Use of non-flame-retardant conduit is strictly prohibited. It is absolutely forbidden to use drainage pipes, trunking, etc., as substitutes for electrical conduit.
3. Final Inspection: After wire pulling, use a 500V Megger (insulation resistance tester) to test each circuit. The insulation resistance value must be no less than 0.5 MΩ. Only after passing this test should the circuit be energized.
Summary
The essence of PVC electrical conduit installation lies in "the proof is in the details". A clean cut, a uniform cement joint, and a securely fixed clamp collectively form the safety foundation of the electrical system's "concealed work". Standardized construction is not only a respect for craftsmanship but also a long-term commitment to the safety of the building and its users.
Related Articles

What are the applications of PVC Electrical Conduit ?
PVC electrical conduit (also known as "Insulated Electrical Conduit for Buildings"), with its combined advantages of insulation and flame retardancy, pressure and corrosion resistance, lightweight and easy installation, has become a core foundational material for modern building electrical wiring. I

What is the Classification of PVC Electrical Conduit ?
The classification system for PVC Electrical Conduit Pipe(Insulated Electrical Conduit for Buildings) is built around the core dimensions of mechanical performance (crush resistance), temperature tolerance, and bending characteristics. It integrates the national standard GB/T43815--2024 and the pra

PVC Pipes and Fittings Production: Core of a Reliable PVC Piping System
The production of Polygon PVC Piping System components is a precise thermoplastic process where pipes and fittings use different molding techniques but share rigorous quality controls. The entire process can be summarized as a standardized closed-loop of: "Mixing - Forming - Post-Processing - Quality Inspection."

Polygon Concludes Successful Participation at the 139th Canton Fair, Connecting Global Markets with Quality and Innovation
[Introduction: A Fruitful Conclusion to a Grand Event] On April 27, 2026, the second phase of the 139th China Import and Export Fair (Canton Fair) successfully concluded at the China Import and Export Fair Complex in Pazhou, Guangzhou. Polygon (Akan Enterprise Group), a leading Chinese brand in piping and comfortable home system solutions, made a splendid appearance at Booth 11.2G29-30. With its high-quality product portfolio, forward-looking system solutions, and professional service, Polygon successfully attracted buyers, industry experts, and partners from around the globe, achieving fruitful negotiation results and further enhancing its international brand influence.
CONTACT
Get in Touch With Us